Choosing a Backsplash for a New Countertop in Chattanooga
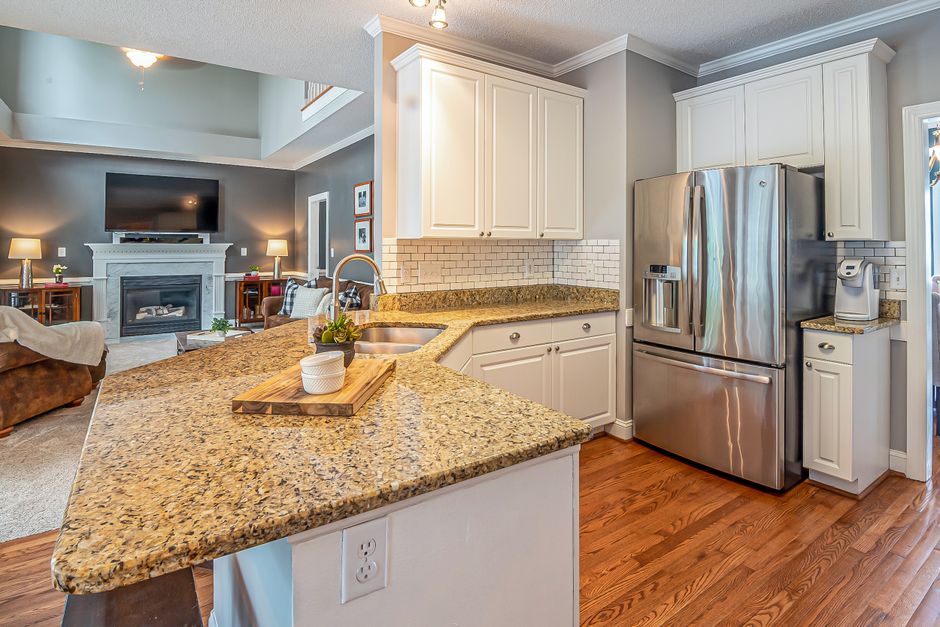
Pick the countertop first, then choose a backsplash that plays a supporting role to it. Slabs are limited and every one varies, while tile comes in thousands of options, so the counter is the harder decision and the tile can adapt to it. In a Chattanooga kitchen, that order also keeps the schedule clean, because the backsplash goes on after the counter is in.
Start With the Slab, Not the Tile Showroom
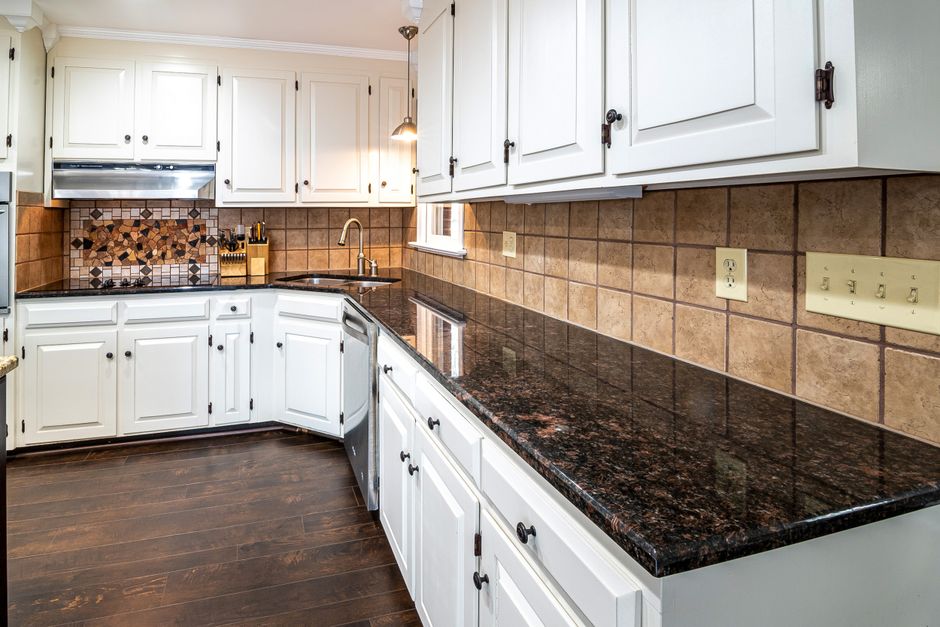
A small chip under showroom lighting tells you very little. Bring a remnant or a large sample of your actual slab when you shop for tile, and set the two side by side.
Then judge them at home. Hold the samples against the wall in daylight and again under your under cabinet lights. LED color temperature can make a warm beige quartz look gray, or push white tile toward blue next to a creamy counter. A pairing that looks perfect in a store can feel off in your own kitchen, so test it where it will live.
Let One Surface Be Busy and the Other Quiet
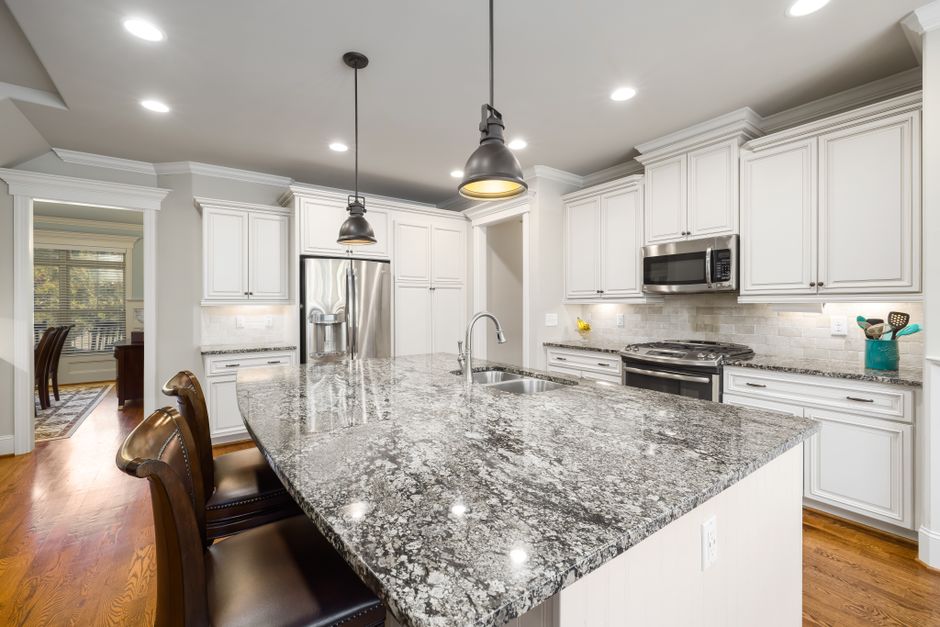
The easiest rule to follow is that only one surface gets to be the star.
- A heavily patterned granite or a strongly veined engineered stone usually looks best with a plain tile.
- A plain, solid color counter can carry a patterned or textured tile.
- If both are busy, the eye has nowhere to rest and the kitchen feels cluttered.
Borrow a Secondary Tone
You do not need to match the counter exactly, and trying to is a common mistake. Near matches often look like errors. Instead, pull the tile color from a secondary tone in the stone: a vein, a fleck, or the background shade. That creates a relationship without a forced match.
Choose a Height That Fits the Kitchen
Three heights cover most kitchens:
- Short splash. Typically about 4 inches, and often cut from the same slab as the counter. It protects the wall and keeps the look simple.
- Full height. Runs from the counter to the underside of the upper cabinets. It protects more wall and shows off the material.
- Up to the hood. Behind a range, many people carry tile or slab up to the hood as a focal point.
Solid surface counters, such as Corian or Avonite, can be made with an integral coved backsplash that curves up from the counter with no corner seam. That removes the caulk joint at the wall entirely, which is a real advantage if the joint behind the sink is a worry.
Match the Material to How You Cook
Material choice is where looks meet daily use.
- Marble and limestone. These etch from acids such as lemon, vinegar, and tomato. Sealing helps resist staining but does not prevent etching. Near a prep area, think hard before choosing polished natural stone.
- Glass tile. It needs a white setting material made for glass, applied with full coverage. Trowel ridges, air pockets, and gray thinset can show through the glass.
- Engineered stone. Brands such as Cambria contain resin that can discolor or crack under high heat. Follow the maker's guidance on clearance behind a high output range, and keep hot pans off any splash ledge.
- Butcher block counters. Wood swells and shrinks with the seasons, and the swing is large in this humid river valley climate. More on that below.
Grout Changes the Look and the Upkeep
Contrasting grout highlights the tile pattern and every uneven joint. Light cement grout behind a cooktop tends to discolor from grease. Epoxy or high performance grouts resist staining better than standard cement grout, which should be sealed. Grout is not waterproof, so it should never be treated as the seal at the counter.
The Right Order of Work
The normal sequence is simple, and skipping steps causes the most expensive problems:
- Kitchen cabinets are set and leveled.
- The countertop is templated and installed.
- The backsplash goes on.
- Joints are sealed with flexible sealant.
Tile goes on after the counter so the bottom course sits at the true finished counter height. Templating, slab thickness, and any shimming all change that height. Setting tile first to save time can leave a gap or even block the slab from going in.
A full height stone or engineered stone backsplash needs its own careful measurement, plus outlet and switch cutouts and an adhesive suited to stone. It is heavy and unforgiving, so it is usually templated after the counters are in.
Check the Walls Before Choosing a Slab
Many older homes in North Shore, St. Elmo, Highland Park, and Fort Wood have plaster or patched walls that are out of flat and out of plumb. Hold a long straightedge against the wall before settling on a full height slab. Small tiles can follow a wavy wall. A rigid slab cannot, and it will leave visible gaps unless the wall is corrected or the stone is scribed.
Look Behind the Old Backsplash
Chattanooga summers are long and humid. When the old backsplash comes off, check behind and below it for soft drywall or mold, especially around the sink. Fix the cause and replace damaged board before any new tile goes up. New tile over a hidden moisture problem only hides it for a while.
Caulk the Joints That Move
The counter and the wall move differently, so the joint between them needs flexibility.
- Leave a small gap, roughly 1/8 inch, between the bottom row of tile and the countertop.
- Fill it with a flexible sealant, not grout. Grout at that change of plane cracks.
- Treat inside corners, and the joints where tile meets a cabinet side or window casing, the same way.
Choose a color matched sealant made for kitchen and bath use, either pure silicone or a sanded caulk matched to your grout. Let it cure for the full time on the label before wiping or splashing that area.
Butcher Block Is Its Own Case
Wood counters need a gap at the wall, sealing on every surface including end grain and cutouts, and flexible sealant where tile meets the wood. Never grout tight to the wood, and never treat it like stone that can be caulked rigidly to the wall.
Keep an Eye on It
Caulk is not an install and forget seal. Inspect the counter to wall joint at least once a year, especially behind the sink and faucet. Cut out and replace cracked, peeling, or dark spotted caulk instead of smearing new caulk over old.
Details That Finish the Job
- Outlets. Tile or slab thickness usually means the boxes need extenders so devices sit flush and are properly secured. Turn off power at the breaker, and have a qualified person handle any electrical work you are unsure about.
- Ending the tile. Where tile stops at an open wall edge, use a finished edge piece, a bullnose, or metal trim. Ending at the cabinet line or a natural break usually looks cleaner than stopping mid wall.
- Extra tile. Buy enough for cuts plus a box kept back for future repairs, all from the same production lot. Colors shift between lots, and discontinued tile is hard to match later.
Leave the Stone Cutting to the Fabricator
Engineered and natural stone contain silicon dioxide, and the fine dust can cause silicosis. Do not cut stone pieces yourself with a dry saw or grinder, and do not assume a basic dust mask or working outdoors makes it safe. A fabricator who uses wet cutting and proper dust controls should handle any stone splash, strip, or cutout.
A Quick Way to Decide
Lay the slab sample on the counter, hold tile samples against the wall, and check them morning and night under your own lights. Pick the one that picks up a secondary tone without copying the main color, keeps one surface quiet, and suits how you cook. Then confirm the schedule: counter first, tile second, flexible sealant at every joint that moves.